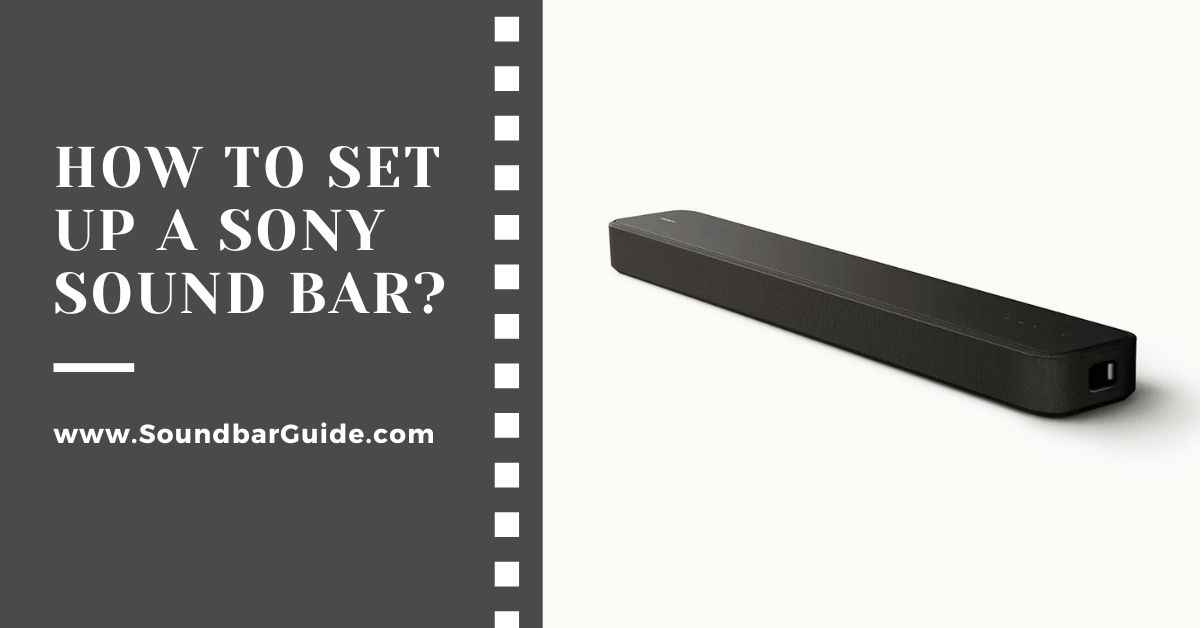
To set up a Sony Sound Bar, connect it to your TV using an HDMI or optical cable, then power on and follow the on-screen setup instructions. Position the sound bar either directly below your TV or wall-mount it for the best audio experience.
Sound bars have redefined the audio landscape of home entertainment systems, blending seamlessly with modern living spaces and Sony leads the charge with its sleek designs and superior sound quality. Setting up a Sony Sound Bar is straightforward, turning your living room into a personal theater in just a few steps.
In this post, I am going to share a step by step guide on how to set up Sony sound bar.
So, let’s dive in…
Table of Contents
Unboxing Sony Sound Bar
Upon opening the box of your new Sony Sound Bar, you’ll find several items. Check everything carefully for any signs of damage.
Ensure all components are present. You should see the main sound bar unit, a remote control, batteries for the remote, and power cables. There might also be optical cables or HDMI cables depending on the model. Some packages include wall mounting brackets for easy installation.
Report any damages to the retailer or manufacturer immediately. This will help you avoid any issues with warranty claims later on. Now, you’re ready to proceed with setting up the sound bar.
Selecting Perfect Spot For Sony Soundbar
Finding the right spot for your Sony Sound Bar is crucial. It affects how sound travels in your room. Make sure it’s near your TV. The sound should feel like it comes from the TV.
Think about where you like to sit too. Your Sony Sound Bar should face this area. This makes sure the sound reaches you best. Sound waves should move freely, so keep it away from corners.
How To Set Up A Sony Sound Bar?
Setting up a Sony Sound Bar starts with connecting it to power. Always use the provided power adapter for your sound bar. This ensures the correct voltage and power for the device.
It’s crucial to avoid using other adapters that did not come with your sound bar. Other adapters could damage your sound bar or may lead to safety risks.
For safety, ensure the power outlet is easily accessible. If anything goes wrong, you can quickly unplug the device.
Always keep water and moisture away from the power adapter and outlet. This prevents any chance of electric shocks. Never place the sound bar or power adapter near a heat source. Heat can be dangerous and reduce the life of your sound bar.
Linking Sony Sound Bar To TV
Setting up your Sony Sound Bar with your TV is simple. Use the HDMI ARC (Audio Return Channel) or eARC (enhanced Audio Return Channel) if available. This single HDMI connection will send audio to the sound bar. Your TV and sound bar should both support ARC. This means better sound with just one cable.
Another way is through an Optical Cable. Connect one end to the sound bar. Then connect the other end to the TV’s optical out. This will send the TV sound to your Sony Sound Bar. Remember to switch the audio output settings on your TV. Choose ‘Optical Out’ or similar.
Pairing With External Devices
To pair your Sony Sound Bar with external devices via Bluetooth, ensure your sound bar is in pairing mode. Activate Bluetooth on your device and select the sound bar from the list of available connections. You might see a name like ‘HT-S100F’. Connect to finalize the pairing.
For USB playback, compatibility with your sound bar is key. Check your model’s specifications. Most Sony Sound Bars support FAT32 and NTFS file systems. Insert the USB drive into the port labeled ‘USB’. Use your sound bar’s remote to access the USB content.
| Format | Compatibility |
|---|---|
| FAT32 | Mostly Compatible |
| NTFS | Limited Compatibility |
Getting To Know The Remote Control
Understanding your Sony Sound Bar’s remote is key for a great audio experience. The remote has several buttons you’ll use often. There’s power, volume control, and input selection. You can also mute the sound or adjust audio settings.
Want to control other devices with your Sound Bar’s remote? It’s possible! You’ll need to program your remote to work with other devices. This means your TV or Blu-ray player. Check the manual for specific codes for each device. Follow the steps to connect them to your remote.
Audio Customization Features
Sony Sound Bars offer various audio customization options to enhance your listening experience. Utilizing the sound modes feature lets you tailor the audio output. You can choose from preset modes like Cinema for movies or Music for songs.
To achieve optimum sound quality, fine-tune the settings to fit your room. This process is known as calibrating the sound. Your Sony Sound Bar may include a microphone for this purpose. It listens to the sound in your space and adjusts settings for the best result. This ensures rich and clear audio tailored to your environment.
Troubleshooting Common Issues
Resolving Audio Sync Problems may seem daunting, but it’s straightforward. Check your Sony Sound Bar settings first. Access the menu and select ‘Audio Delay’ or ‘AV Sync’. Adjust this setting until the audio matches the video perfectly.
If this doesn’t fix the issue, look at the connected device’s settings. Sometimes, the issue lies with the external device, not the sound bar.
Encountering a Sound Bar that doesn’t turn on can be frustrating. Begin with the basics: ensure the power cord is securely plugged into the outlet and sound bar. Inspect the cord for damage. If it looks fine, try plugging the sound bar into a different outlet.
| Issue | Check | Action |
|---|---|---|
| Sound Bar won’t power up | Power connection | Ensure cord is secure on both ends |
| Cord integrity | Look for damage along the cord | |
| Different outlet | Try another power source |
If you are unable to detect the issue, you can just reset the Sony soundbar to avoid unexpected problems.
Maintenance And Care
To keep your Sony sound bar pristine, regular cleaning is key. Use a soft, dry cloth to gently wipe the surface. Avoid harsh chemicals or water, as they may harm the device. Place your sound bar in a spot where it’s less likely to gather dust.
Updating your sound bar’s software ensures peak performance and extends its lifespan. Check the official Sony website for the latest firmware updates. Follow the instructions provided to download and install updates. This keeps your sound bar running smoothly and adds new features when available.
FAQs On How To Set Up A Sony Sound Bar
How Do I Connect My Sony Soundbar To My TV?
You can connect your Sony soundbar to your TV via HDMI (ARC) by plugging one end into the soundbar’s ARC port and the other into the TV’s ARC HDMI input. Alternatively, use an optical cable or Bluetooth pairing for wireless connection. Refer to the soundbar’s manual for specific instructions.
How Do I Connect My Sound Bar to My TV?
To connect your sound bar to your TV, use an HDMI ARC (Audio Return Channel) cable if both devices support it, or an optical audio cable as an alternative. Plug one end of the cable into the corresponding port on the TV and the other end into the sound bar, then select the appropriate input source on the sound bar.
How Do I Get Sound on My Sony Sound Bar?
To get sound on your Sony soundbar, ensure it’s properly connected to your TV or device using HDMI ARC, optical, or Bluetooth, then select the corresponding input on the soundbar. Additionally, make sure the soundbar and TV or device are powered on and the volume is turned up.
Why Is My Sony Sound Bar Not Working With My TV?
Your Sony sound bar might not be working with your TV due to incorrect input or output settings, an incompatible audio format, or faulty connections. Ensure the sound bar is properly connected to the TV using the correct cables and ports, and check that both devices are set to compatible audio settings.
How Do I Connect My Sony Soundbar To Subwoofer?
To connect your Sony soundbar to the subwoofer, ensure both devices are powered on. Press and hold the “PAIRING” button on the subwoofer until the indicator light starts flashing, then press the “LINK” button on the soundbar to complete the pairing. Once connected, the indicator light on the subwoofer will stop flashing and remain solid.
Conclusion
Setting up your Sony sound bar can elevate your home entertainment experience in just a few steps. With the tips outlined, you’ll enjoy immersive audio in no time.
Remember, placement matters and the right settings make all the difference.
Now, I can say that you have got a clear idea about how to set up Sony sound bar.
Still, got questions? Don’t hesitate to comment below…
![How To Connect Vizio Soundbar To Vizio TV: [Step By Step Guide]](https://soundbarguide.com/wp-content/uploads/2024/10/how-to-connect-vizio-soundbar-to-vizio-tv.jpg)

Leave a Reply